Cap Welding Techniques
How to Do a Cap Weld on a 6G Pipe Test
This page is the cap welding part of how to pass a 6G pipe welding certification. This section covers the cap weld techniques and the rules for passing the cap welding inspection of the AWS B2.1 6G pipe welding certification. At the bottom of this page there is a list of links to all of the related content ranging from the root pass to the bend test.
Pipe Welding Techniques For The Cap
The cap was also done with a 3/32 E7018 electrode using 3 stringers beads to put in the cap. The technique to putting a half decent cap in is to spread out the weld. That is a very tight side to side motion, basically a tight weave. This is something I did not do in the beginning and disagreed with the welding instructor who conducted this test. Since taking this welding certification I have focused my efforts on spreading out the weld when using an E7018 electrode. I should have listened to someone who has made a career of welding X-Ray quality welds is very difficult conditions. Since I took this test and passed it at the bare minimum I have come close to a almost next to perfect cap. The last 6G weld test I took was for Fluor and I was allowed to take pictures. They are posted at the end of this page.
Some basic guidelines for welding the cap are as follows:
- Keep your electrode angle pointed to the center of the pipe at all times with very few exceptions.
- Keep your arc length as short as possible.
- If possible, drag your electrode slightly no matter what the position is. Most people will disagree with this but it works for me because it keeps the slag behind the puddle. Once you build a shelf of weld then you can drag.
- Only move forward and side to side with the electrode otherwise the weld will become rough.
- When the pipe gets to hot let it cool down or put on a vice grip to lean on.
- Make sure you fuse the bevels edge by pushing the toe of the weld into it.
- Overlap stringer beads from at least 25% to a maximum of 50%. The goal is for the weld to have a single flat profile when finished.
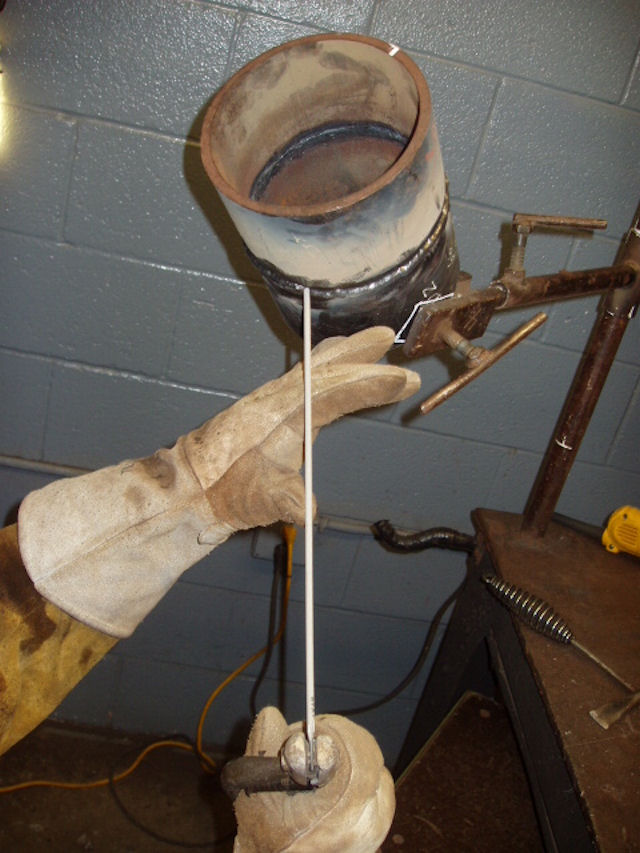
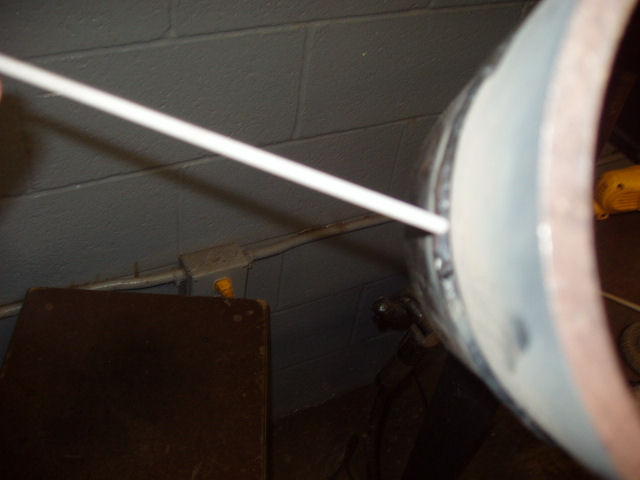
Electrode Travel Angles for All Position Welding
Below are pictures of the electrode angles I used to pass the 6G welding certification test. The basic guideline is keep your electrode pointed to the center of the pipe with as short as a arc as possible and just do a slight side to side welding technique. This technique works on everything except a open root weld. It’s the only skill you need t master.

The Cap Weld In The 6G Position
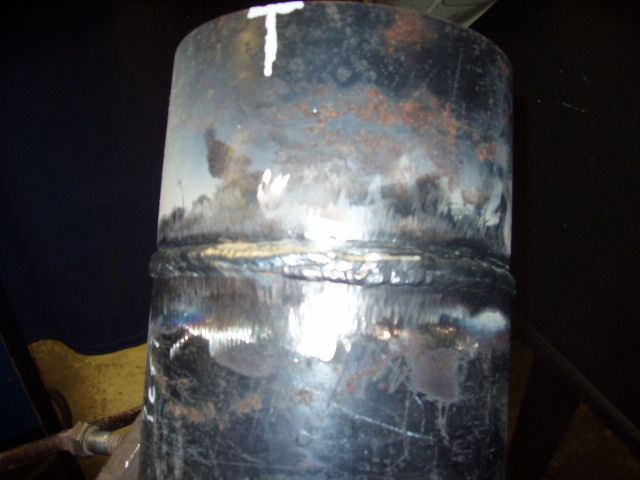
Before putting in the cap I cleaned the hot pass with a wire wheel and hit it with a grinder. I did not have to use a grinder, but if I can, I will. It's just safer if you are allowed. A light grinding of the surface will expose any trapped slag or porosity.

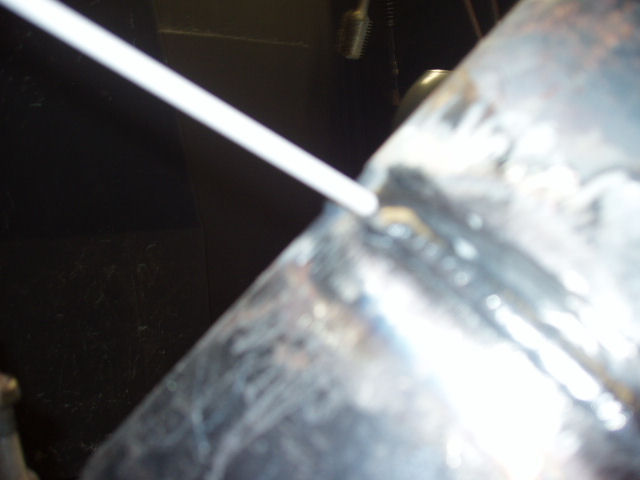
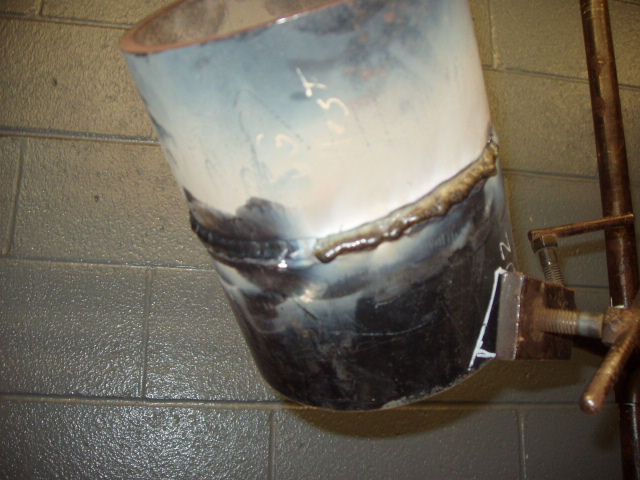
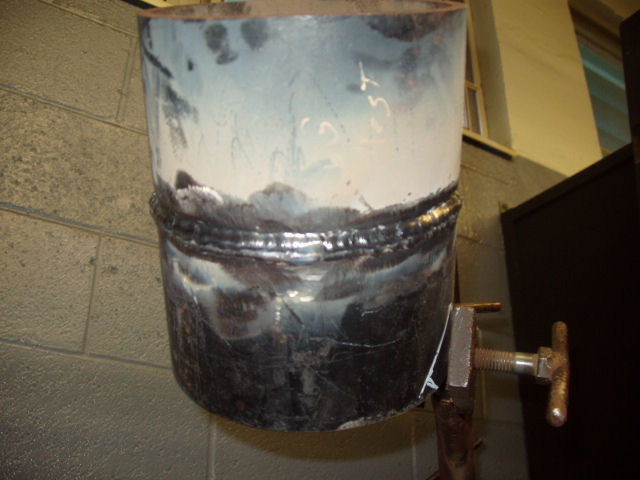
The cap was done from the bottom to top. There is not much to the cap except make sure you fuse the edges of the bevel and keep spreading out the weld. The pictures below are of the first stringer bead I put in. The weld is a little rough because I would sometimes pause or move the electrode slightly back into the weld crater. This is solved by only moving forward and side to side.

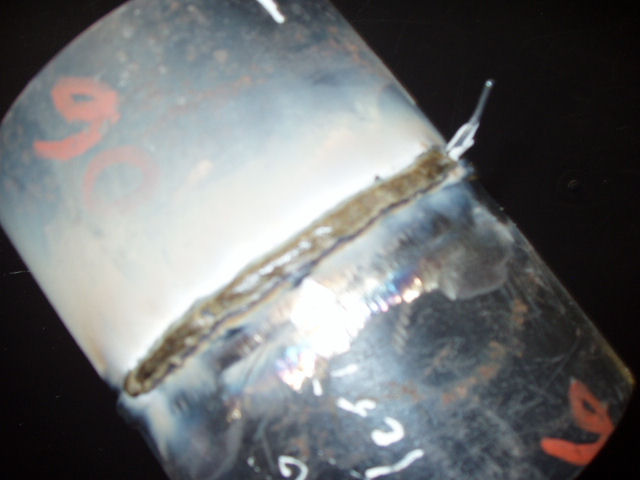
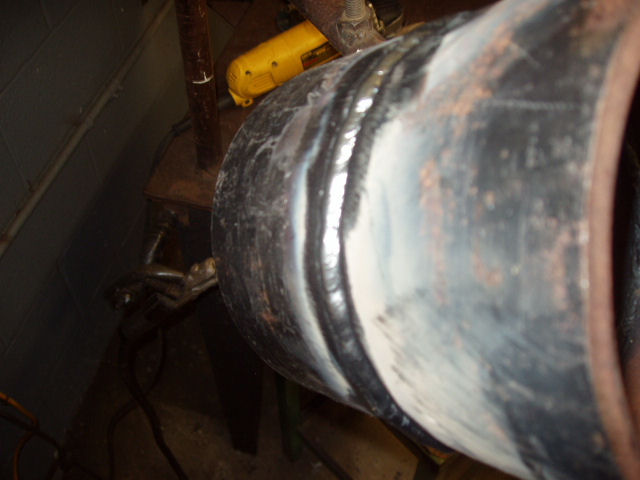
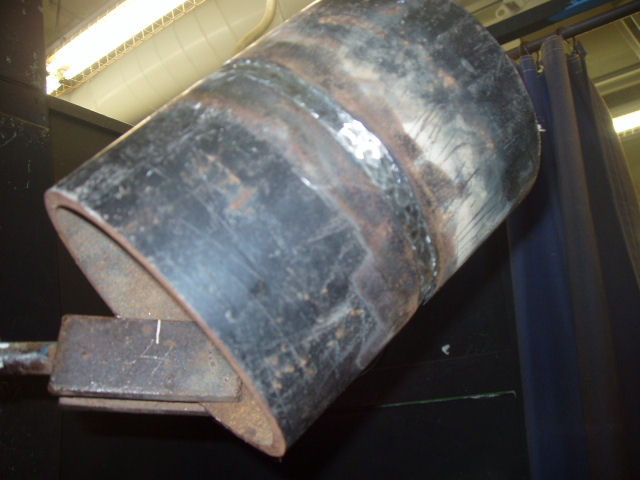
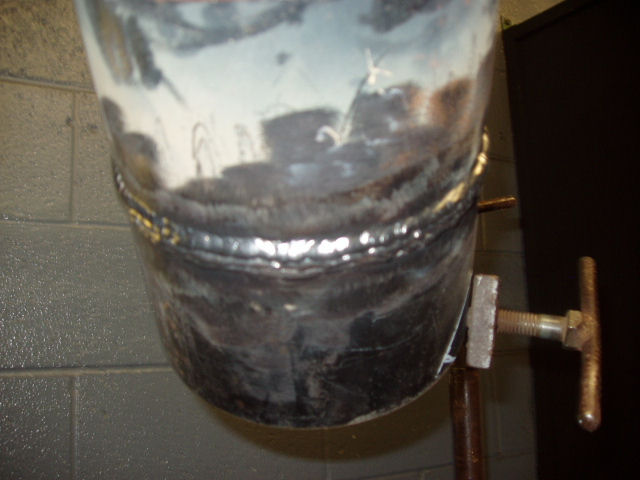
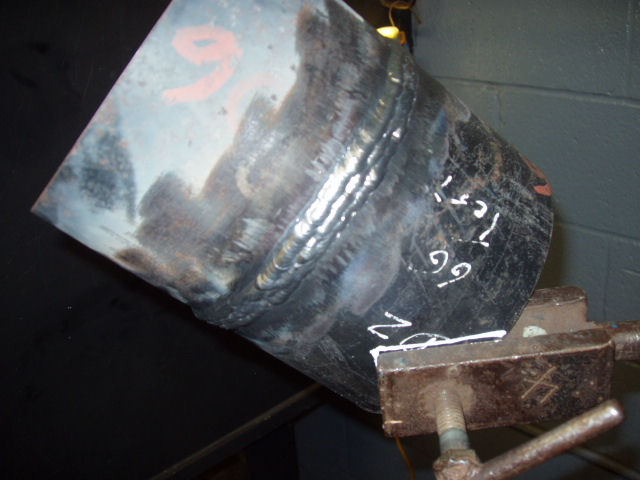
The last stringer bead was done once the pipe cooled down enough for me to lean on it. On the last stringer bead I made sure I spread the toe of the weld over the edge of the bevel and into the second stringer. Those are the pictures below.


Visual Inspection Criteria For A 6G Pipe Welding Certification
This visual inspection is the hard part of the test! Passing a bend test is easy but the visual part is much harder. I know this because I have bent some of my practice coupons that would not pass the visual examination, including coupons that I thought would fail. Not one coupon broke or opened up more than the procedure allows.
To begin the welding instructor conducting my test gives nobody any slack and goes sticky by the book! This is where I got lucky! He follows the rules and allows the use of a grinder to do repairs. Basically all of my welds had to be exactly within the AWS acceptance criteria. My best friend all of a sudden became the grinder. Overlap, arc strikes, and anything that is less than the procedure states is an instant visual weld rejection. I cleaned up my welds with a 1/16 cutting wheel because it gives total control unlike a grinding wheel. The rules state you are allowed one repair after the weld inspection, so I checked my weld thoroughly and cleaned up anything that was not suppose to be there. As long as you do your repairs before the weld is inspected then you have one repair left if you need it. In the end I passed the visual based on the AWS acceptance criteria. The two big criteria are no undercut over 1/32 of an inch and no excessive weld reinforcement over 1/8 of an inch.
Next page:Test Coupon Preparation for a Bend Test
Contents overview of the 6G pipe welding certification: